Here it goes. If anything isn't clear, just let me know, I will try to clarify it in more detail.
1) The materials you need for part one: making the butterfly.
A grooved board and a softening pad. Scissors, three pieces of wire, gauge 30 (or even 32), four pieces of wire, gauge 28 (for the wings), and 1 piece of wire for the body, gauge 26. A veiner. A rolling pin and pliers. Glue (made from tylose and water). And last but not least, a butterfly cutter. I used the one from JEM.
And of course a good quality gumpaste. Just use whatever works for you.

2) Let's start to make the body of the butterfly. You will need a small ball of paste (size of a pea), a slightly bigger one (tail) and a slightly smaller one (head). Make a small hook in the gauge 26 wire with the pliers. Form the biggest ball into tail.

3) Moisten the wire with a tiny bit of glue and put it in the mid sized ball. Put a bit of glue on either side of the ball and glue the tail and head to this ball. Now, this is not very stable.

4) Take a piece of gauge 30 wire, and again with the pliers, make a tongue and bend the wire a little. Moisten the wire and cut it to the length of the tail. I have put the wire above the body, to make you understand what I mean.

5) Now, push the wire through the three balls. Make sure it goes all the way down into the tail, but of course, it SHOULDN'T show! Let it stick out of the head like the tongue of a butterfly. Like this:

6) Make an indentation in the first ball, to form the head and push a small piece of wire, gauge 30 on either side of the head.

Like this!
7) Okay, we now have the body. Just stick it in a foam pad and let it dry a bit. Now, on to the wings. Take the grooved side of the board and roll your paste out quite thin. Cut out two upper wings. Make sure to make a left and right wing!

8) Use the veiner to give them some 'life'. Cut out two bottom wings (again, left and right). Vein them too. Put the four wings on your foam pad and thin the edges with your cell pin or a ball tool. Don't push too hard, you don't want curly wings.

9) Stick a wire, gauge 28 in each of the wings. Let them dry for a few minutes.

10) Next, we need to paint and dust the butterfly to make it alive and sparkling.
I have used a burgundy, yellow and spring green dusting powder. And rejuvenator spirit to paint. You will need a brush with a small tip to paint the burgundy accents and two flat headed brushes for the color accents made with yellow and green.

11) Start by painting the body. Mix some burgundy dusting powder with the spirit and paint the entire body and the tongue a dark burgundy. Then, over to the wings. Brush some of the paint on the edges of the wings. Paint an 'eye' on each wing. After that, you can brush some dry burgundy over the edges to the middle of the wings. For those who use make up: like you would make smokey eyes ;-)

12) Add some yellow dusting powder on the basis and dust this over with the spring green, up and to the middle of the wings.

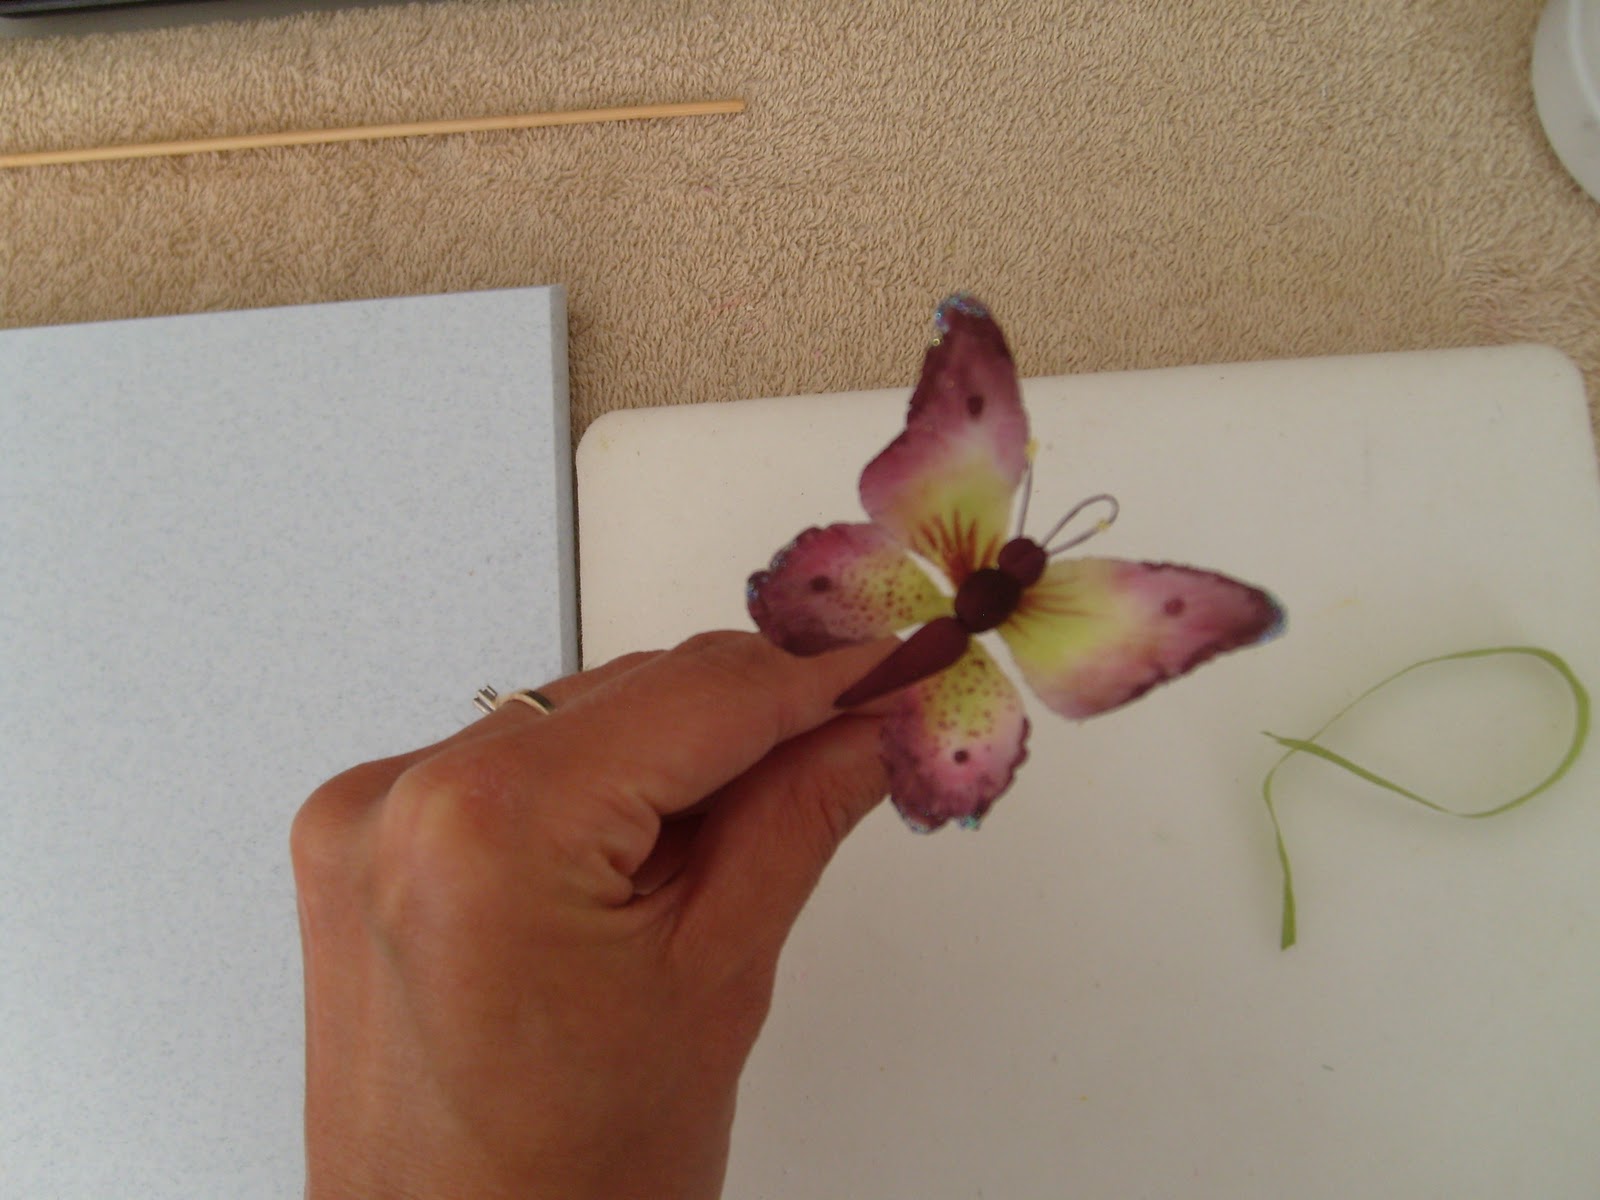
13) Time for the finishing touch. I use a pen with edible paint to make small accents, but if you don't have one, just use edible paint as you normally would. Put some stripes on the upper wings and some dots on the bottom wings. Last but not least, add a tiny bit of glue to the edges and dip them in disco hologram (from Edible Art).

14) There you go! You are almost done now, all you need to do is tape the five together. Take some Stemtex and make the parts into a real butterfly.
And... voila you are done!
